
Halloween is the perfect excuse to bake something fun, festive, and full of chocolate. In this post, you’ll get my best recipe for Halloween Chocolate Cookies that are crisp around the edges, soft in the center, and perfect for decorating. I’ll also answer common questions about dough, storage, and healthy swaps. Whether you’re baking with kids, prepping for a party, or filling treat bags, this recipe makes it easy. Plus, you’ll get icing tips, decorating ideas, and make-ahead tricks to save time.
A Spooky Cookie Memory That Started It All
I’ll never forget the first time I made Halloween Chocolate Cookies. My daughter was three and dressed as a tiny witch, apron over costume, laughing with every sprinkle she dropped. We were trying to make bats and pumpkins out of chocolate dough, and let’s just say, some looked more like blobs than anything else. But the joy in that moment made it unforgettable.
That tradition stuck. Every Halloween since, our kitchen turns into a cookie workshop. Now that she’s older, she’s the one piping the creepy smiles and ghostly swirls. And I still use that same cookie base because it’s soft, chocolatey, and perfect for cut-outs. The best part? These Halloween Chocolate Cookies hold their shape and taste like fudge brownies in disguise.
What makes this recipe stand out is how flexible it is you can shape and decorate the cookies in endless spooky ways to match any Halloween theme. With a bit of cocoa powder and creativity, you can turn them into bats, mummies, jack-o’-lanterns or even a haunted house scene. And they’re not just for kids. These treats look just as good on a party platter as they do wrapped in cellophane as party favors.
They’ve become my favorite Halloween tradition, just like my slow cooker beef stew has become a staple for chilly fall nights. And if you love themed treats, don’t miss this slow cooker Halloween cider perfect for sipping while you bake a batch of Halloween Chocolate Cookies.
How to Make the Best Halloween Chocolate Cookies from Scratch
Mixing the Dough Right
The secret to great Halloween Chocolate Cookies starts with well-balanced dough. In a medium bowl, whisk together the flour, cocoa powder, baking powder, and a pinch of salt. This dry mix forms the rich, chocolatey base. In a separate bowl, cream softened butter with granulated sugar until light and fluffy about 3 minutes on high speed. This step creates the structure that helps the cookies hold their shape.
Next, add the egg and vanilla, mixing until smooth. Gradually blend in the dry ingredients on low speed until just combined. If your dough feels sticky, sprinkle in an extra tablespoon of flour. Once mixed, divide the dough into two equal parts for easier rolling.
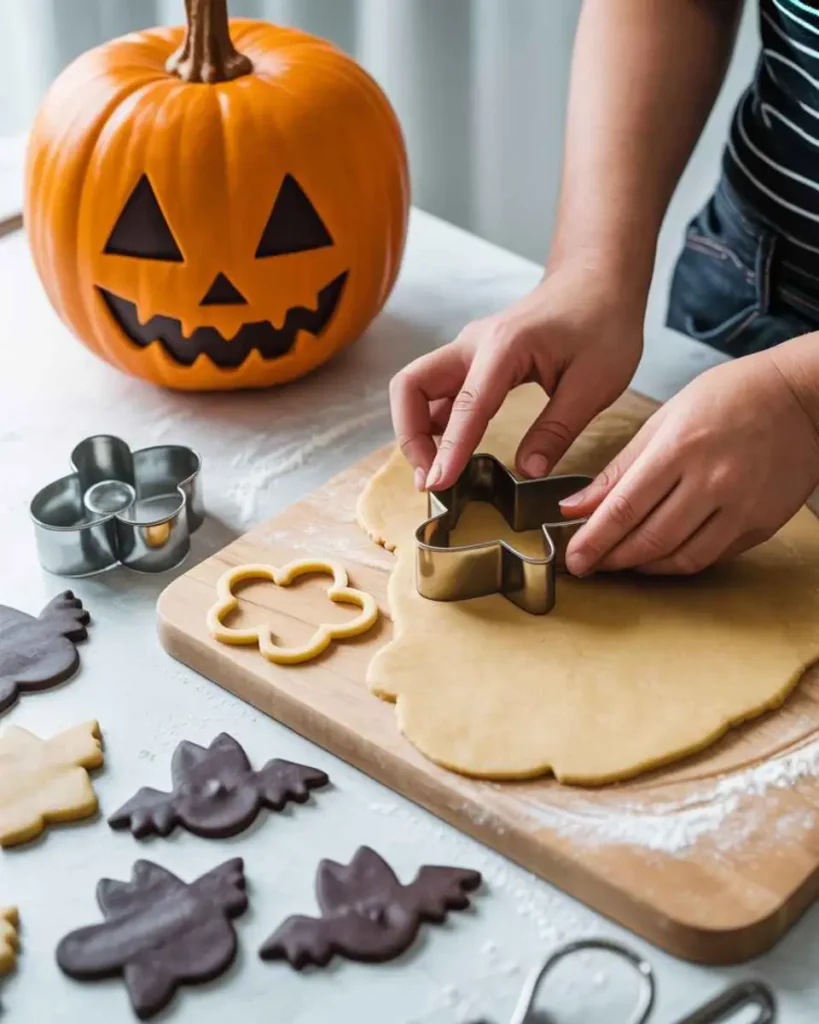
Rolling, Chilling, and Cutting
Roll each dough half between sheets of parchment or silicone mats dusted with cocoa powder. Aim for about 1/4-inch thickness. Then stack the rolled-out dough with parchment between the layers, wrap them, and refrigerate for at least 1–2 hours. Chilling is crucial it helps the cookies stay crisp on the edges and soft in the center.
After chilling, preheat your oven to 350°F and line baking sheets with parchment paper. Cut your dough into spooky shapes think ghosts, pumpkins, and bats. If the dough softens, pop it back in the fridge for 10 minutes.
These Halloween Chocolate Cookies bake in just 11–12 minutes. Once the edges are set, let them rest for 5 minutes on the pan before transferring them to a wire rack.
For more fall favorites, try this slow cooker butternut squash soup or this creamy crockpot mac and cheese, both perfect for pairing with cookies on a chilly night.
Decorating Ideas for Halloween Chocolate Cookies That Pop
Easy Icing for Spooky Details
Once your Halloween Chocolate Cookies have cooled, it’s time to bring them to life literally. Whether you go with royal icing or a simple cookie glaze, both are perfect for outlining and filling in shapes. Start by dividing your icing into bowls and adding gel food coloring. Classic Halloween shades like orange, black, green, and purple always stand out.
Use piping bags fitted with a small round tip (Wilton #4 is ideal) to outline your cookie shapes. Then fill in the center with thinner icing and gently spread it to the edges using a toothpick. Want that creepy jack-o’-lantern face or a googly-eyed ghost? Let one layer dry before adding the next for crisp lines.
Need help with this part? You can always refer to this step-by-step cookie icing guide for beginner-friendly tips that make decorating feel stress-free.
Creative Toppings & Add-Ons
Print
Halloween Chocolate Cookies That Are Spooky & Delicious
- Total Time: 1 hour 30 minutes
- Yield: 24 cookies 1x
- Diet: Vegetarian
Description
Soft, fudgy Halloween Chocolate Cookies perfect for spooky decorating. These cut-out cocoa cookies hold their shape, taste amazing, and are kid-friendly.
Ingredients
- 1 and 1/2 cups all-purpose flour (188g)
- 3/4 cup cocoa powder (62g)
- 1 teaspoon baking powder
- 1/8 teaspoon salt
- 3/4 cup unsalted butter (170g), softened
- 1 cup granulated sugar (200g)
- 1 large egg
- 1 teaspoon vanilla extract
- Royal Icing or Cookie Icing
- Gel food coloring (optional)
Instructions
- Whisk flour, cocoa powder, baking powder, and salt in a medium bowl.
- In a large bowl, cream butter and sugar until smooth.
- Add egg and vanilla. Mix well.
- Gradually blend in dry ingredients. If sticky, add 1 tbsp flour.
- Divide dough, roll out to 1/4 inch, and chill for 1–2 hours.
- Preheat oven to 350°F (177°C). Cut shapes and bake 11–12 minutes.
- Cool completely. Decorate with icing and toppings.
Notes
- Store cookies in an airtight container at room temp for 5 days.
- Freeze raw dough or plain cookies for up to 2 months.
- Use plant-based butter for a dairy-free version.
- Prep Time: 20 minutes
- Cook Time: 12 minutes
- Category: Dessert
- Method: Baking
- Cuisine: American
Nutrition
- Serving Size: 1 cookie
- Calories: 120
- Sugar: 9g
- Sodium: 45mg
- Fat: 6g
- Saturated Fat: 3.5g
- Unsaturated Fat: 2g
- Trans Fat: 0g
- Carbohydrates: 16g
- Fiber: 1g
- Protein: 1g
- Cholesterol: 20mg
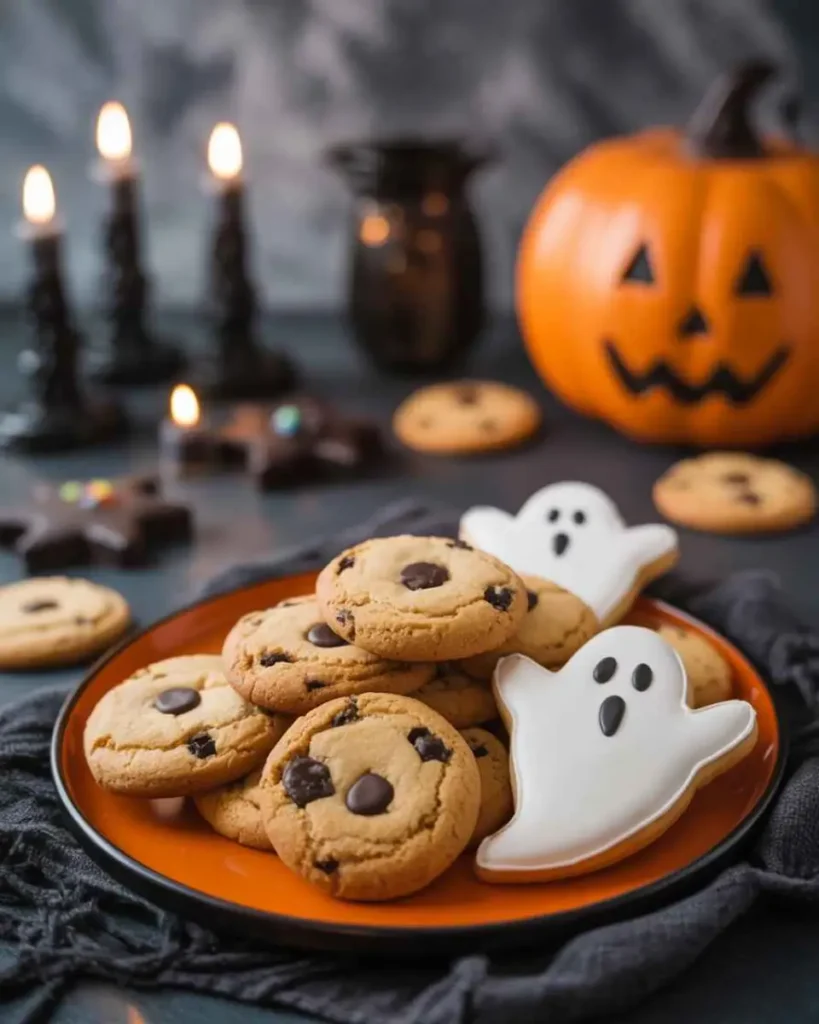
Sprinkles, candy eyes, and sanding sugar make decorating even more fun. Add these extras before the icing dries so they’ll stick perfectly. For mummies, pipe thin white stripes and press in mini candy eyes. For spiders, pipe a round shape, add chocolate legs, and place a candy in the center.
You can also customize cookies for a Halloween party favor box or dessert table. These decorated Halloween Chocolate Cookies look especially impressive when served next to themed drinks like this crockpot pumpkin spice latte.
Don’t worry about making each cookie perfect Halloween is all about fun and character. A few drips or crooked smiles only make them more festive. Just take your time and enjoy the process. You might even find yourself making a new spooky tradition.
Storing and Healthy Twists for Halloween Chocolate Cookies
Make-Ahead & Storage Tips
If you’re hosting a party or prepping treat bags, you’ll be glad to know these Halloween Chocolate Cookies are great for making ahead. Once decorated, let the icing dry completely. For royal icing, this takes about 2 hours; glaze icing may need up to 24 hours.
After drying, layer the cookies between sheets of parchment paper in an airtight container. At room temperature, they stay soft for 5 days. Want to prep further ahead? Refrigerate them for up to 10 days or freeze the undecorated cookies for up to 2 months. Just thaw and decorate when you’re ready.
You can also freeze the raw cookie dough. Roll it out, layer it with parchment, and wrap tightly before freezing. Thaw overnight in the fridge before cutting into shapes. This method is a time-saver, especially if you’re planning multiple Halloween desserts like these crockpot monster brownies or a warm slow cooker caramel apple dip.
Healthier Halloween Cookie Options
Looking for a lighter twist? It’s easy to adjust this recipe. Swap half of the all-purpose flour for whole wheat flour, or reduce the sugar by 1/4 cup for a less sweet version. Using coconut sugar is another smart swap that still gives you that classic richness.
You can also try a dairy-free version by using plant-based butter and skipping royal icing in favor of simple powdered sugar glaze. For color, choose natural food dyes made from fruits and veggies. Even with healthier tweaks, these Halloween Chocolate Cookies still turn out soft, chocolatey, and totally crave-worthy.
Whether you’re going traditional or taking a lighter route, there’s a way to make these cookies fit your Halloween plans perfectly.
For more recipes Follow me in Facebook and Pinterest
Frequently Asked Questions About Halloween Chocolate Cookies
What makes Halloween chocolate cookies spooky?
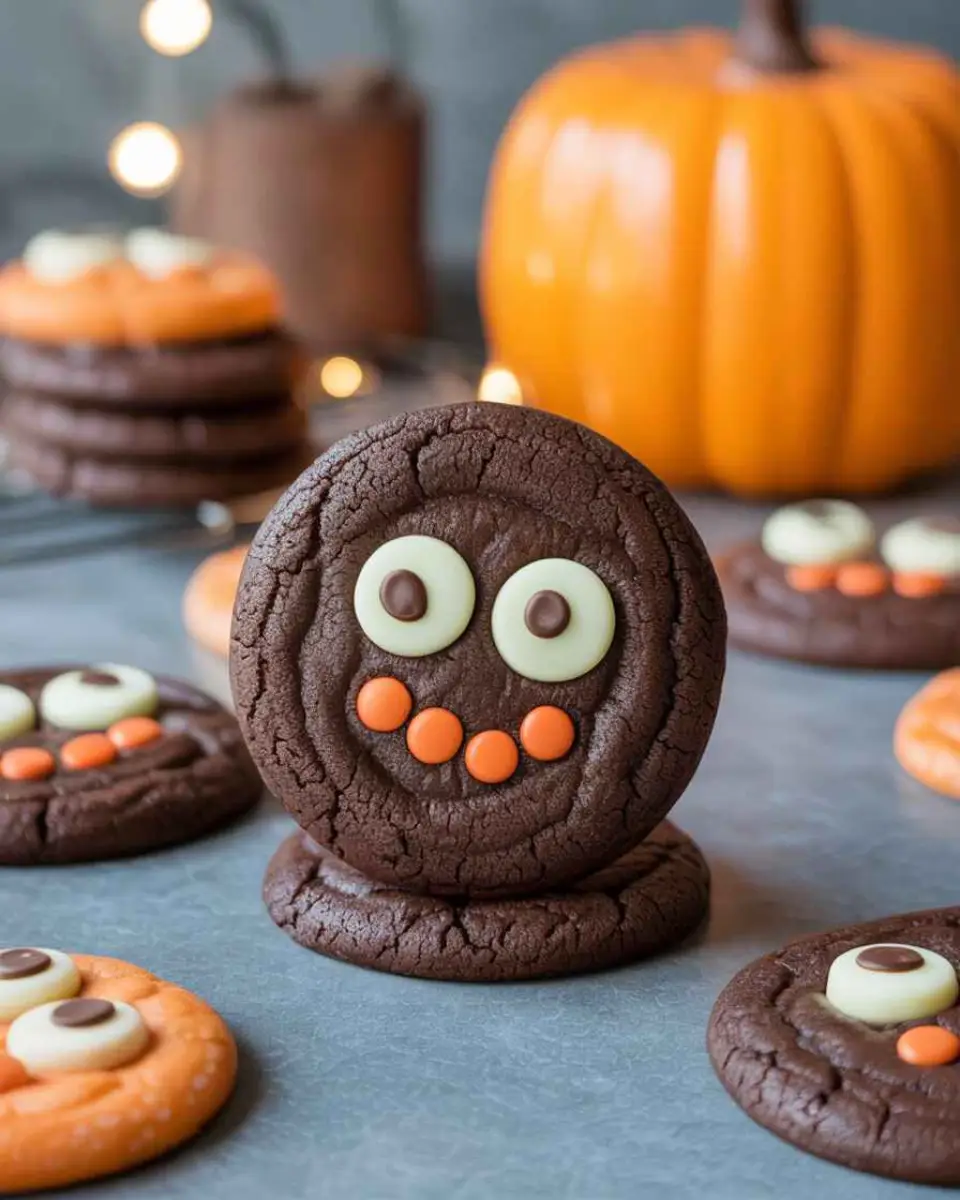
It’s all in the shapes and decorations. Use Halloween-themed cookie cutters like ghosts, bats, pumpkins, and spiders. Then decorate them with colorful icing think black for webs, orange for pumpkins, and candy eyes for monster faces. These little touches turn regular chocolate cookies into festive, spooky fun.
Can I use store-bought dough for Halloween chocolate cookies?
Yes, store-bought dough can work in a pinch. But for the best texture and flavor, homemade dough is ideal. The richness of cocoa and real butter in this recipe gives the cookies a soft, brownie-like bite that holds up to shaping and decorating much better.
How far in advance can I bake Halloween chocolate cookies?
You can bake and store Halloween Chocolate Cookies up to five days in advance. Just make sure they’re stored in an airtight container. If decorated with royal icing, let them dry fully before stacking. You can also freeze the dough or the plain baked cookies for up to two months.
Are there healthy alternatives for Halloween chocolate cookies?
Definitely. You can reduce the sugar, use whole wheat flour, or try plant-based butter to make a dairy-free version. Natural food coloring is also a great way to keep the fun look without artificial dyes. Even with swaps, these Halloween Chocolate Cookies still taste amazing.
Conclusion
Baking Halloween Chocolate Cookies is more than just making dessert it’s about creating memories. From rolling the dough to piping spooky faces, every step brings out the holiday spirit. This recipe is dependable, fun, and easy to tweak based on your style or dietary needs.
Whether you’re handing them out to trick-or-treaters, gifting them to friends, or enjoying them with a hot mug of cider, these cookies are sure to bring smiles. And if you’re craving more Halloween fun, don’t miss the cozy fall recipes and party ideas at Crockpot Cravings.